-
Par colybrix le 5 Juillet 2024 à 08:46

Colybrix, thank you very much for your permission that I may translate your tutorials

Tutoriel original ici
***

***
Plugins
Mehdi
Phpshares-hdj1 (Patched filter, in the material)
Graphic Plus
Mura’s Meister
AAA Frame
***
Colors
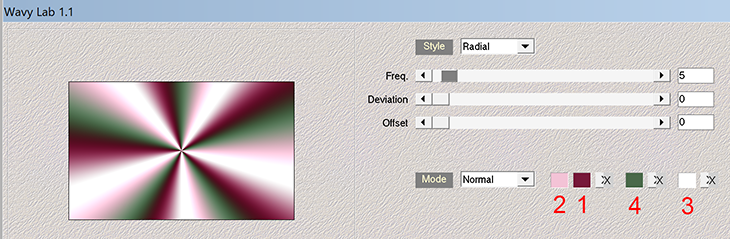
Color 1 > foreground : #77193a
Color 2 > background : #f3c3d6
Color 3 : #ffffff
Color 4 : #4a694a

***
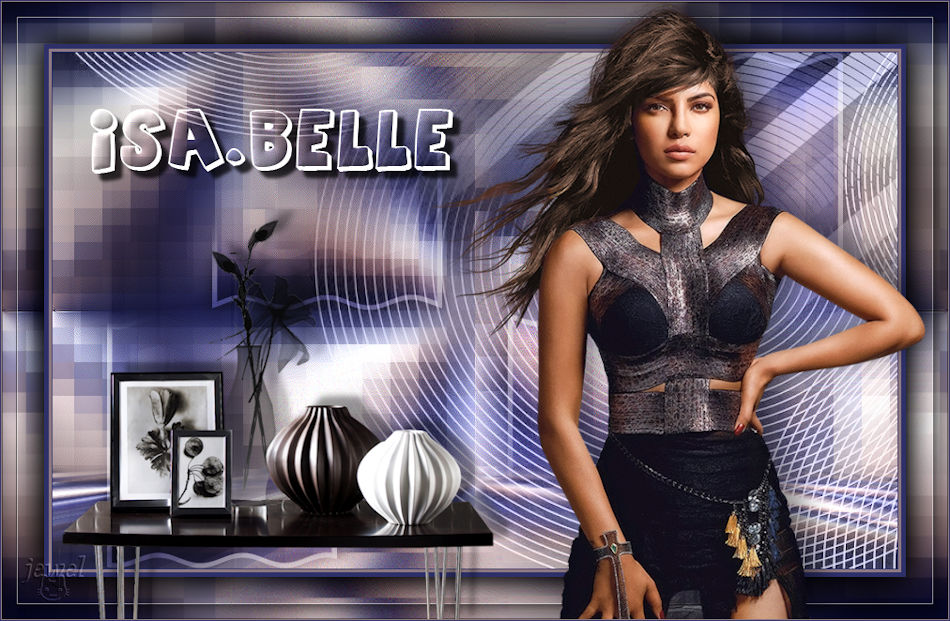
1 - Open a new transparent image 900 px * 550 px
Effects Mehdi – Wavy Lab 1.1
2 - Adjust - Blur - Gaussian blur 15
Effects - Image effects - Seamless Tiling

3 - Effects - Reflection effects - rotating mirror

Effects - Edge effects - Enhance X 2
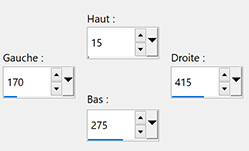
4 - Selection Tool (S) - Custom selection

Selections – Promote selection to layer
Selections - Select none
5 - Layers - Duplicate
Image - Mirror horizontal
Effects Phpshares-hdj1 > Nina à 170

6 - Activate de middle layer
Effects Phpshares-hdj1 > missery à 30

7 - Activate the top layer
Layers - Merge - Merge down
Effects - Image effects - Seamless Tiling - same settings
Blend mode Multiply
8 - Layers - Merge - Merge down
Effects – Graphic Plus Cross Shadow

9 - Layers - Duplicate
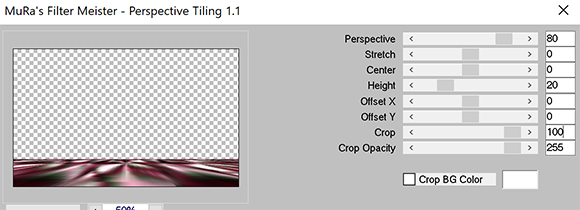
Effects Mura’s Meister > Perspective Tiling
Magic Wand Tool – Select the transparent part of the layer
Selections - Modify - Feather 30 / Ctrl-H
10 - Press 6 times on the erase / Delete key on the keyboard
Selections - Select none
11 - Layers - new layer
Fill the layer with the white color
Layers – New mask layer from image – select Narah Mask 1624
Layers - Merge group
12 - Layers - Duplicate
Layers - Merge - Merge down
Blend mode Luminance ( Legacy)
13 - Activate the bottom layer (Raster 1)
Selection Tool (S) - Custom selection
14 - Selections – Promote selection to layer
Layers - Arrange - Bring to top
Selections - Modify- Select Selection borders
Fill with the white color
Selections - Select none
15 - Effects – 3D effects – Drop shadow 0, 0, 100, 25 black
Effects - Image effects - Seamless Tiling
Tool select (K) horiz. : 37, vert : -6
16 - Activate the bottom layer
Selections - Select all
Activate the top layer
Image - Crop to selection
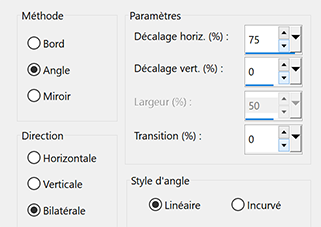
17 - Effects - Distorsion Effects - Wave

Blend mode Soft Light (or other if you want)
18 - Layers - Duplicate
Image - Mirror
Image - Flip
19 - Activate Group Layer (raster2)
Layers - Arrange - Bring to top
Layers - Duplicate
Opacity 50%
20 - Activate layer bottom (Raster 1)
Edit - Copy
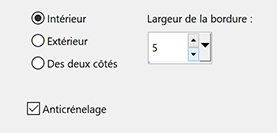
21 - Image – Add borders
1 pixel – foreground color
3 pixels – color 4
5 pixels foreground color
22 - Selections – Select all
Image – Add borders 45 pixels foreground color
23 - Selections - Invert
Edit - Paste into selection (raster 1 in memory)
Selection Invert
Effects – 3D effects – Drop shadow 0, 0, 100, 50 black
Edit - repeat drop shadow
Selections - Select none
24 - Effects AAA Frame > Foto Frame

25 - Open "femme805-coly" - Erase the watermark
Edit - Copy
Edit - Paste as a new layer
Image - Resize 80 % - Resize all layers – not checked
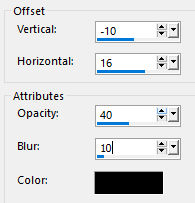
Effects – 3D effects – Drop shadow -10, 16, 40, 35 black
26 - Open "big_artimage_846835_7736268_20180603284620" - Erase the watermark
Edit - Copy
Edit - Paste as a new layer
Image - Resize 65 % - Resize all layers – not checked
Effects – 3D effects – Drop shadow
27 - Open "Titre en blanc" - I used the Agent Orange font
Edit - Copy
Edit - Paste as a new layer
Move top left
With the Magic Wand Tool - select inside letters and dots

28 - Activate layer bottom (Raster 1)
Selections - Modify - Expand 1 px
Promote selections to layer
Layers - Arrange - Move up X2 (under the text)
Effects - 3D Effects - Inner bevel

29 - Selections - Select none
Activate the top layer (the text)
Merge - Merge down
Effects 3D - Drop shadow : 8, 8, 75, 5 black
30 - Add your watermark
Image – Add borders
1 pixel – color 4
1 pixel – foreground color
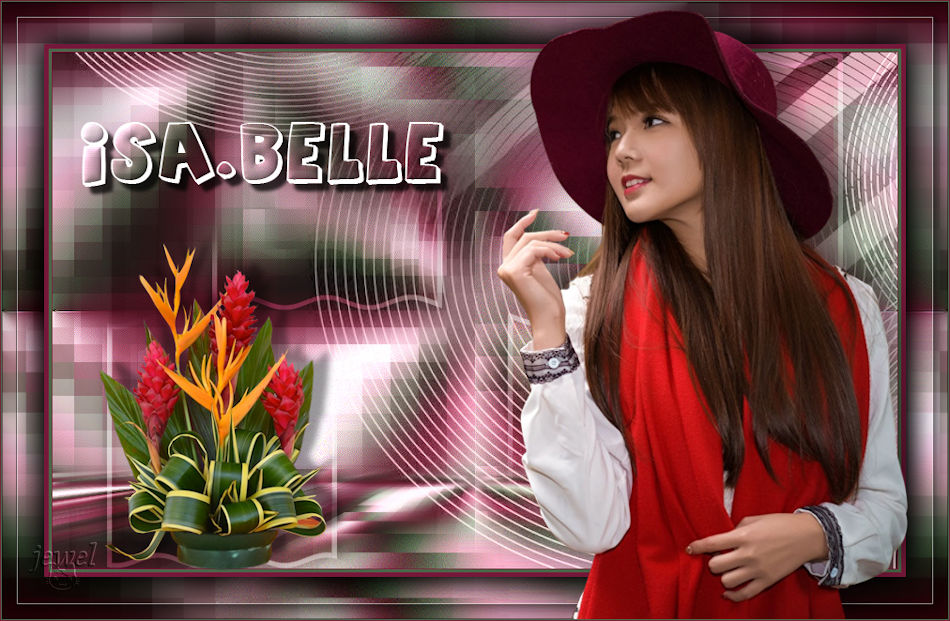
31 - Image - Resize 950 pixels - Resize all layers checked
Save as Jpg
If you want, you can send me your version
If you have problems, or you find a not worked link, write to me

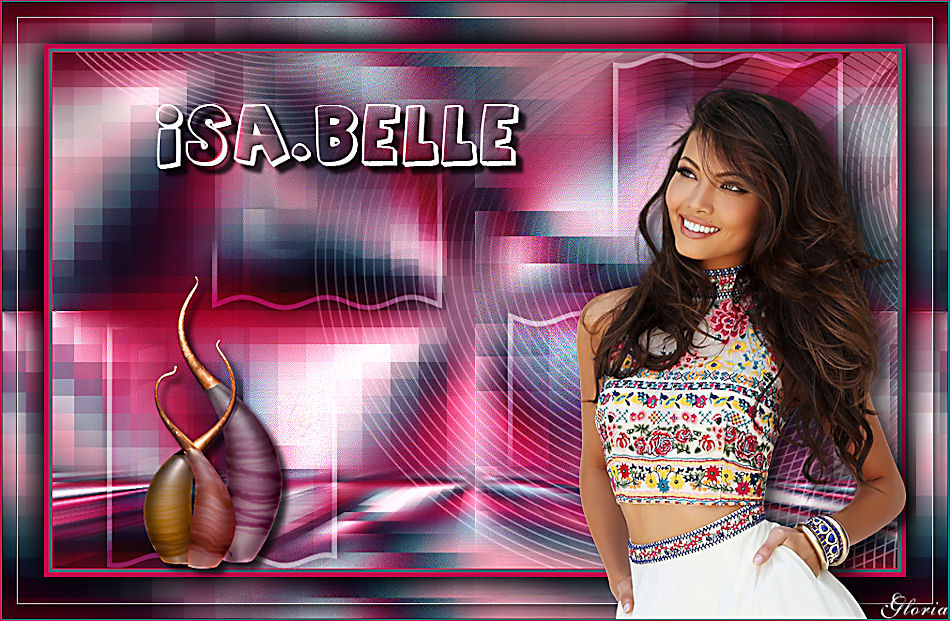
Une autre version avec un tube femme de Nadège et un tube déco de Guismo
Thank you so much for the 3 versions Gloria


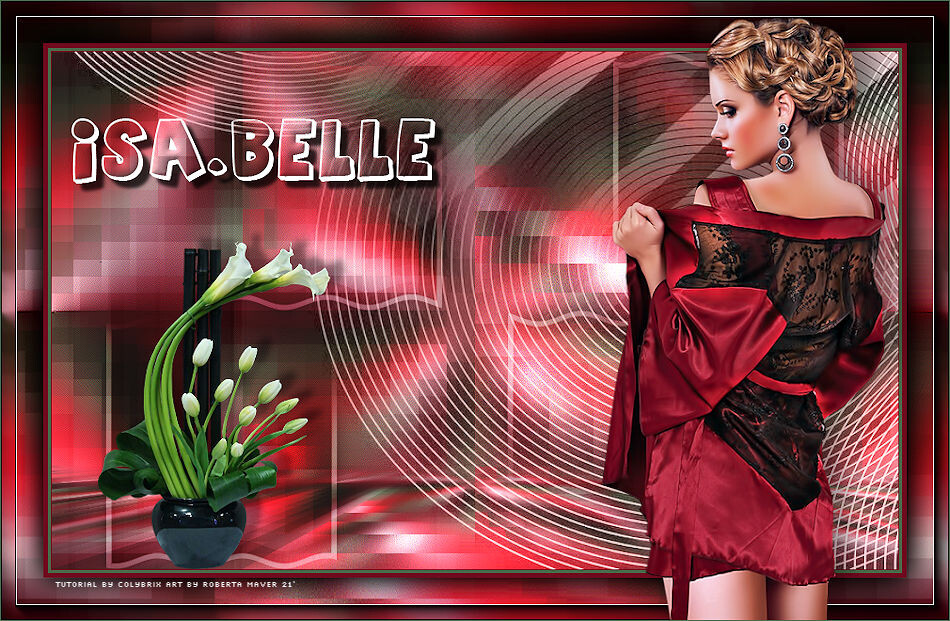
Thank you so much Roberta
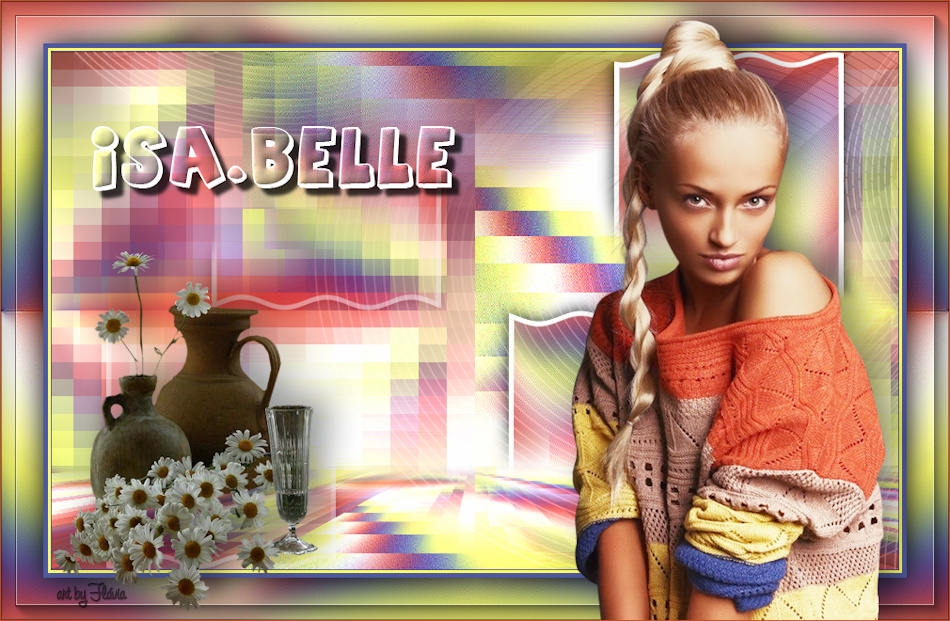
Thank you so much Flavia
 votre commentaire
 Suivre le flux RSS des articles de cette rubrique Suivre le flux RSS des commentaires de cette rubrique
-
Avanna (plus de site)
-
Mes tubes
mes créations perso
mes tutos photoshop

Mon blog de traduction tuto Psp

-

-