-
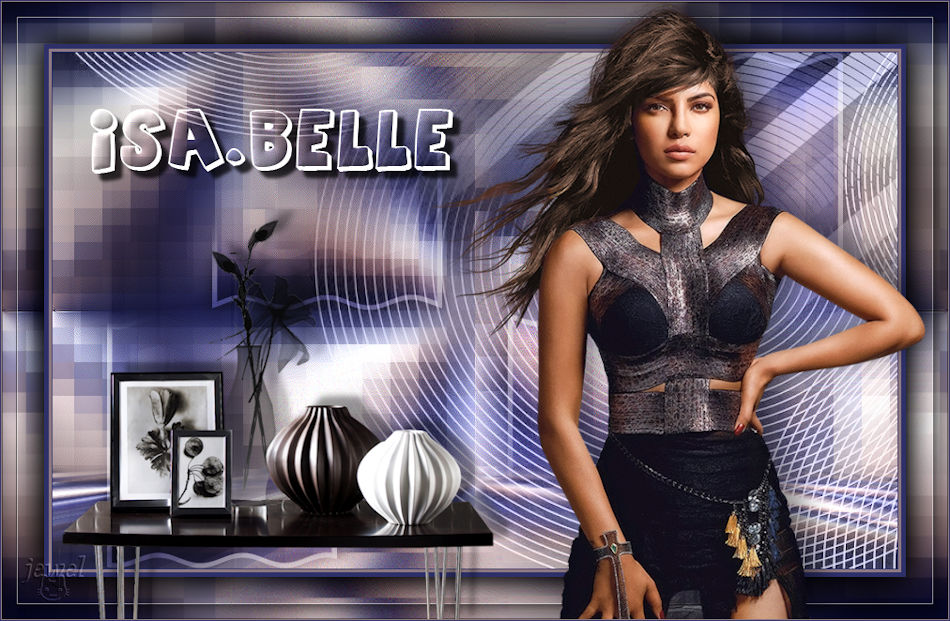
Isa.Belle (en Anglais)

Colybrix, thank you very much for your permission that I may translate your tutorials

Tutoriel original ici
***

***
Plugins
Mehdi
Phpshares-hdj1 (Patched filter, in the material)
Graphic Plus
Mura’s Meister
AAA Frame
***
Colors
Color 1 > foreground : #77193a
Color 2 > background : #f3c3d6
Color 3 : #ffffff
Color 4 : #4a694a

***
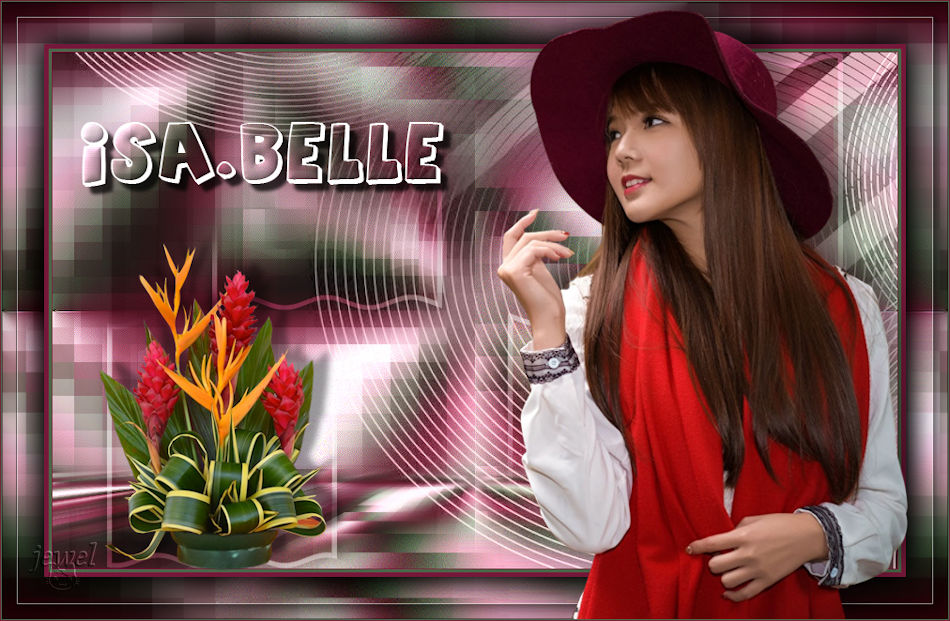
1 - Open a new transparent image 900 px * 550 px
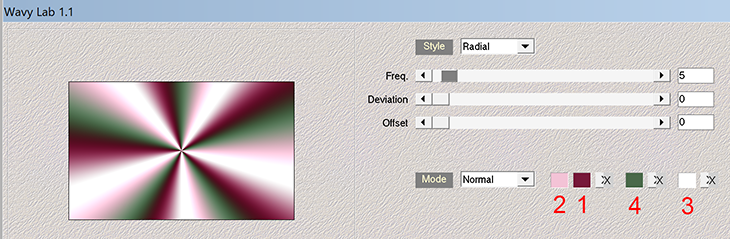
Effects Mehdi – Wavy Lab 1.1
2 - Adjust - Blur - Gaussian blur 15
Effects - Image effects - Seamless Tiling

3 - Effects - Reflection effects - rotating mirror

Effects - Edge effects - Enhance X 2
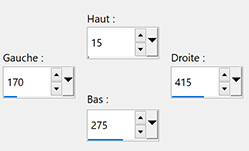
4 - Selection Tool (S) - Custom selection

Selections – Promote selection to layer
Selections - Select none
5 - Layers - Duplicate
Image - Mirror horizontal
Effects Phpshares-hdj1 > Nina à 170

6 - Activate de middle layer
Effects Phpshares-hdj1 > missery à 30

7 - Activate the top layer
Layers - Merge - Merge down
Effects - Image effects - Seamless Tiling - same settings
Blend mode Multiply
8 - Layers - Merge - Merge down
Effects – Graphic Plus Cross Shadow

9 - Layers - Duplicate
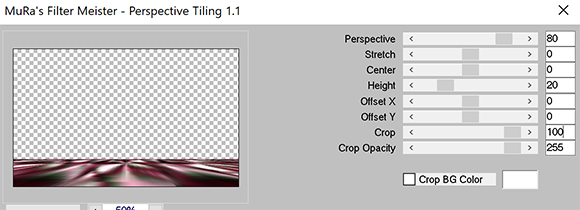
Effects Mura’s Meister > Perspective Tiling
Magic Wand Tool – Select the transparent part of the layer
Selections - Modify - Feather 30 / Ctrl-H
10 - Press 6 times on the erase / Delete key on the keyboard
Selections - Select none
11 - Layers - new layer
Fill the layer with the white color
Layers – New mask layer from image – select Narah Mask 1624
Layers - Merge group
12 - Layers - Duplicate
Layers - Merge - Merge down
Blend mode Luminance ( Legacy)
13 - Activate the bottom layer (Raster 1)
Selection Tool (S) - Custom selection
14 - Selections – Promote selection to layer
Layers - Arrange - Bring to top
Selections - Modify- Select Selection borders
Fill with the white color
Selections - Select none
15 - Effects – 3D effects – Drop shadow 0, 0, 100, 25 black
Effects - Image effects - Seamless Tiling
Tool select (K) horiz. : 37, vert : -6
16 - Activate the bottom layer
Selections - Select all
Activate the top layer
Image - Crop to selection
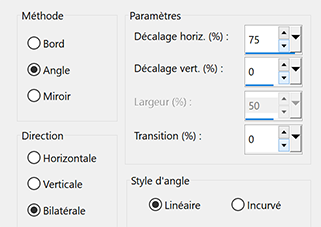
17 - Effects - Distorsion Effects - Wave

Blend mode Soft Light (or other if you want)
18 - Layers - Duplicate
Image - Mirror
Image - Flip
19 - Activate Group Layer (raster2)
Layers - Arrange - Bring to top
Layers - Duplicate
Opacity 50%
20 - Activate layer bottom (Raster 1)
Edit - Copy
21 - Image – Add borders
1 pixel – foreground color
3 pixels – color 4
5 pixels foreground color
22 - Selections – Select all
Image – Add borders 45 pixels foreground color
23 - Selections - Invert
Edit - Paste into selection (raster 1 in memory)
Selection Invert
Effects – 3D effects – Drop shadow 0, 0, 100, 50 black
Edit - repeat drop shadow
Selections - Select none
24 - Effects AAA Frame > Foto Frame

25 - Open "femme805-coly" - Erase the watermark
Edit - Copy
Edit - Paste as a new layer
Image - Resize 80 % - Resize all layers – not checked
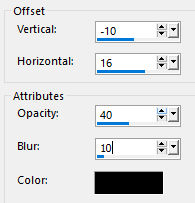
Effects – 3D effects – Drop shadow -10, 16, 40, 35 black
26 - Open "big_artimage_846835_7736268_20180603284620" - Erase the watermark
Edit - Copy
Edit - Paste as a new layer
Image - Resize 65 % - Resize all layers – not checked
Effects – 3D effects – Drop shadow
27 - Open "Titre en blanc" - I used the Agent Orange font
Edit - Copy
Edit - Paste as a new layer
Move top left
With the Magic Wand Tool - select inside letters and dots

28 - Activate layer bottom (Raster 1)
Selections - Modify - Expand 1 px
Promote selections to layer
Layers - Arrange - Move up X2 (under the text)
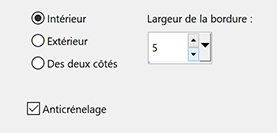
Effects - 3D Effects - Inner bevel

29 - Selections - Select none
Activate the top layer (the text)
Merge - Merge down
Effects 3D - Drop shadow : 8, 8, 75, 5 black
30 - Add your watermark
Image – Add borders
1 pixel – color 4
1 pixel – foreground color
31 - Image - Resize 950 pixels - Resize all layers checked
Save as Jpg
If you want, you can send me your version
If you have problems, or you find a not worked link, write to me

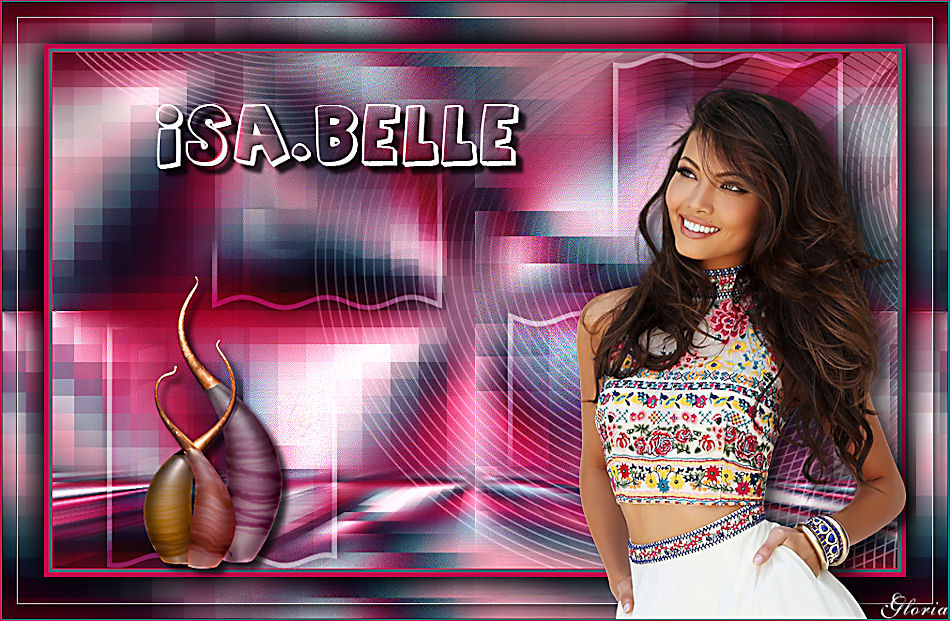
Une autre version avec un tube femme de Nadège et un tube déco de Guismo
Thank you so much for the 3 versions Gloria


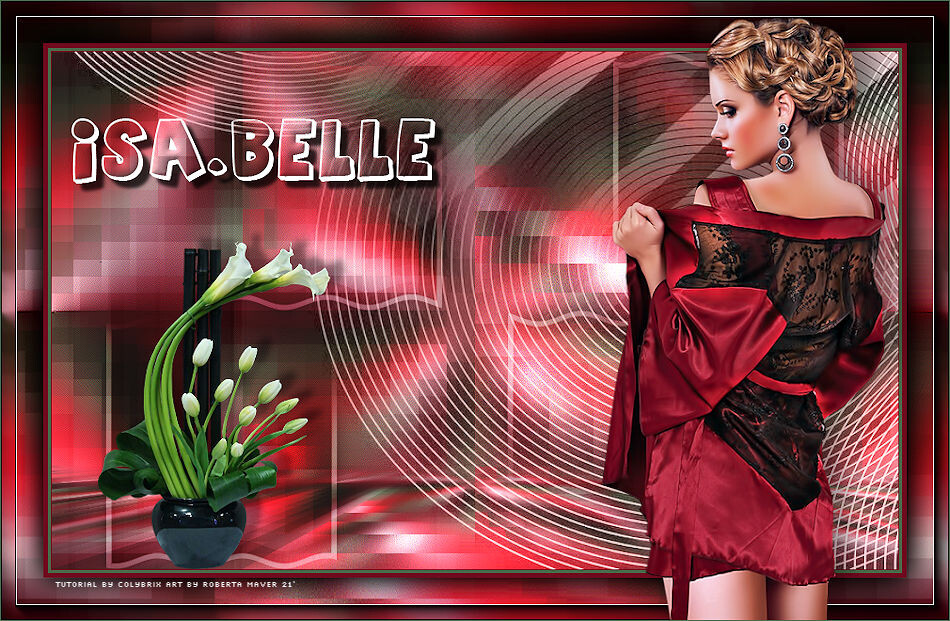
Thank you so much Roberta
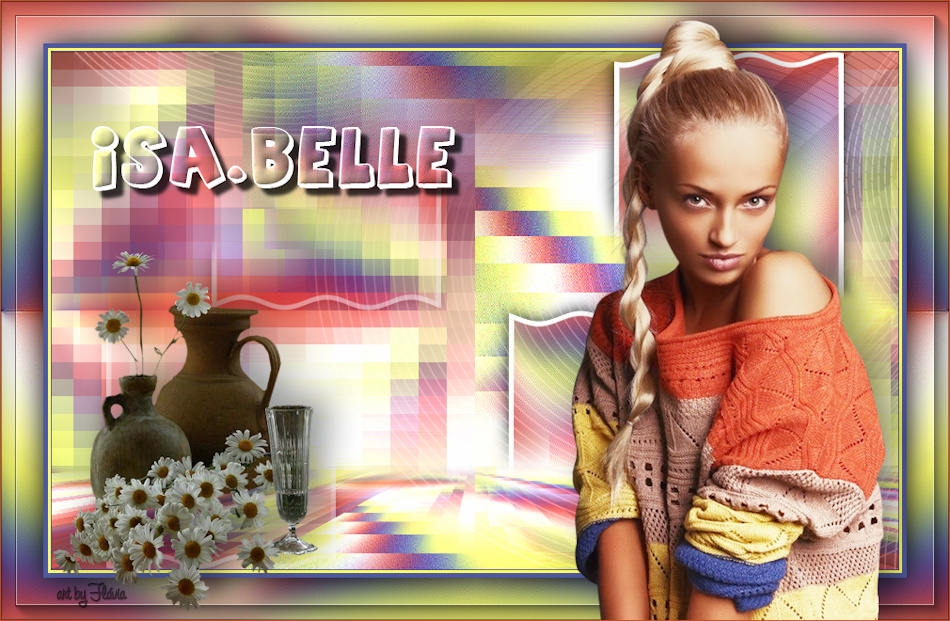
Thank you so much Flavia
-
Commentaires
-
Avanna (plus de site)
-
Mes tubes
mes créations perso
mes tutos photoshop

Mon blog de traduction tuto Psp

-

-